 How to open a .VDI Virtual Machine
Sometimes someone share with us one Virtual machine with extension .VDI, after that we can wonder how and what with?
Well the answer is... It is a VirtualBox - Virtual Machine. If you have not downloaded it you can do this easily just follow this post.
http://listeningoracle.blogspot.com/2010/04/que-es-virtualbox.html
or
http://oracleoforacle.wordpress.com/2010/04/14/ques-es-virtualbox/
Ok, Now with VirtualBox Installed open it and proceed with the following:
1. Open the Virtual File Manager.
 |
2. Click on Actions ? Add and select the .VDI file
 |
Click "Ok"
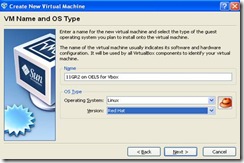
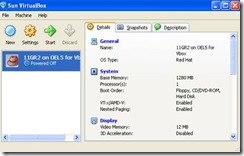
3. Now we can register the new Virtual Machine - Click New, and Click Next
4. Write down a Name for the virtual Machine a proceed to select a Operating System and Version. (In this case it is a Linux (Oracle Enterprise Linux or RedHat)
Click Next
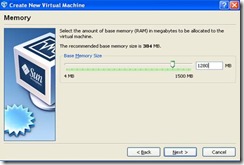
5. Select the memory amount base for the Virtual Machine
(Minimal 1280 for our case) - Click Next
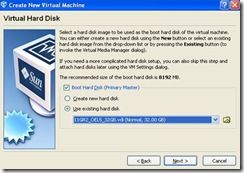
6. Select the Disk 11GR2_OEL5_32GB.vdi it was added in the virtual media manager in the step 2.
Dont forget let selected Boot hard Disk (Primary Master) . Given it is the only disk assigned to the virtual machine.
Click Next
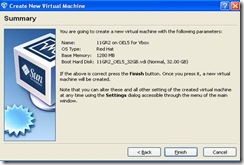
7. Click Finish
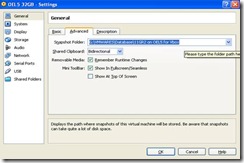
8. This step is important. Once you have click on the settings Button.
9. On General option click the advanced settings. Here you must change the default directory to save your Snapshots; my recommendation set it to the same directory where the .Vdi file is. Otherwise you can have the same Virtual Machine and its snapshots in different paths.
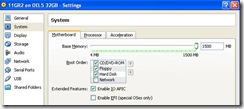
10. Now Click on System, and proceed to assign the correct memory (If you did not before)
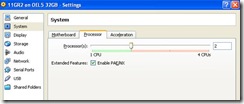
Note: Enable "Enable IO APIC" if you are planning to assign more than one CPU to the Virtual Machine.
Define the processors for the Virtual machine. If you processor is dual core choose 2
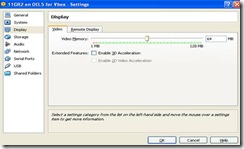
11. Select the video memory amount you want to assign to the Virtual Machine
 |
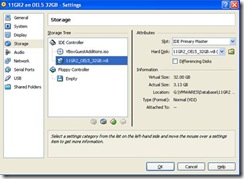
12. Associated more storage disk to the Virtual machine, if you have more VDI files.
 |
(Not our case)
The disk must be selected as IDE Primary Master.
13. Well you can verify the other options, but with these changes you will be able to start the VM.
Note: Sometime the VM owner may share some instructions, if so follow his instructions.
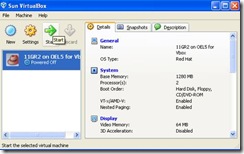
14. Finally Start the Virtual Machine (Click > Start)

