Customize SharePoint list using InfoPath2010 form Part4
Posted
by ybbest
on YBBest
See other posts from YBBest
or by ybbest
Published on Sun, 04 Mar 2012 11:27:22 +0000
Indexed on
2012/03/18
18:26 UTC
Read the original article
Hit count: 565
Customize SharePoint list using InfoPath2010 form Part1
Customize SharePoint list using InfoPath2010 form Part2
Customize SharePoint list using InfoPath2010 form Part3
In this post, I’d like to show you how to create print functionality in InfoPath for SharePoint list. The print functionality is provided out of box in InfoPath form library; however it is not available in SharePoint list. Here are the steps to create the print functionality.You can download the new form here.
1. Create print page in the list by first copy and paste the displayifs.aspx and rename the file to Printifs.aspx.

2. Open the page in the SharePoint designer and copy the following javascript to the PlaceHolderTitleAreaClass ContentPlaceHolder.
<script type="text/javascript">
$(document).ready(function(){

$("[id^='Ribbon']").hide();

$(".s4-title").hide();

$("[id='s4-leftpanel']").hide();

$("[id='s4-ribbonrow']").hide();

$("[id='s4-titlerow']").hide();

$("[id='s4-titlerow']").css("height", "0px");

$("body").css("background-color", "white");

$("body").css("zoom", "135%");

$("[id='MSO_ContentTable']").css("margin-left", "0px");

$("[id='MT-BodyContent']").css("width", "900px");

$(".MT-BodyArea").css("width", "900px");

$("[id='MT-Layout']").css("width", "900px");

$(".ms-bodyareacell").css("width", "900px");

$(".s4-wpTopTable").css("border", "none");

$("[id$='XmlFormView']").css("margin-left", "-80px");

$("body").css("margin-top", "-30px");

$(":contains('CAPEX')").css("border", "5px solid #FFCC00");

window.print();

});
</script>
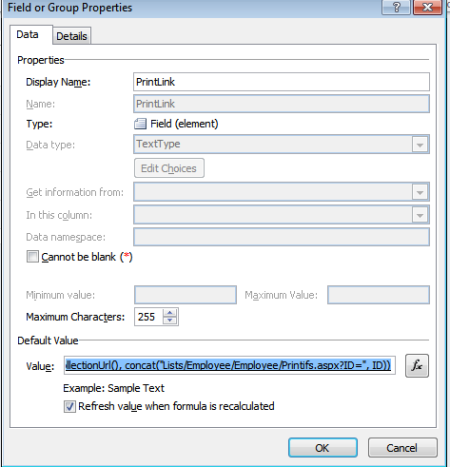
3. Open InfoPath form for the list and create a field called PrintLink

4. Set the default value of printLink that points to the print page I just created before with the query string id.You can download the formula for the default value here.

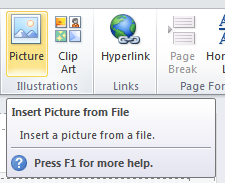
5. Add a new image that looks like Print button on the display view, then I can set the url to the Print link Field. (The reason I did not use button is that you cannot set the navigate url for the button).
6.Set the url of the image to the PrintLInk field.

7.Next , create the print view.

8. Copy the contents from the display view to print view

9. Finally, go to the printifs.aspx and edit the InfoPath web part to set the view to PrintView.

9. Republish you form you will see the form as shown below

10. If you click the Print button, you will see the print page and print dialog,you can also add the company logo in the print page using css as well.

11.To deploy the customization,you can use the backup and restore content database approach , you can get more details from my previous blog post here.


© YBBest or respective owner