I Know What I Did This Summer: Put Down Trex Decking
Posted
by thatjeffsmith
on Oracle Blogs
See other posts from Oracle Blogs
or by thatjeffsmith
Published on Mon, 18 Aug 2014 20:17:02 +0000
Indexed on
2014/08/18
22:27 UTC
Read the original article
Hit count: 438
Personal Tech
If you’re wondering why I would bore everyone with my pictures and frequent status updates/tweets from the past week – it’s so I could document the process of refurbishing my deck, or what some would call a porch.
When we go to take a vacation, buy a car, do anything – we also read personal blogs to get the real story. So, if you’re curious about what it takes to tackle this sort of project, read on.
Skills/Equipment/Manpower We Possessed
I took the old decking out by myself. I’m about 230 lbs, more than 6′ tall, and I’m pretty healthy. This took about 8 hours over two afternoons.
Three of us put the deck back together. My wife has two engineering degrees. Her father also has two engineering degrees. Lots of brainpower available here. Also, her dad ran the public works department for a country for more than 20 years – so lots and lots of practical experience on hand.
We had a compound mitre saw, a skilsaw, 2-3 crowbars, a framing hammer, 3 cordless drills, a corded drill, lots of sawhorses, a power sander, an angle grinder, a 10×10 Coleman canopy tent, a Ford F-150 pickup truck, outdoor speakers and lots of iTunes playlists, plenty of water and cold beer.
Why We Did This
Our deck was relatively young – it was built in 2005. However, the pressure treated boards must not have been adequately maintained before we bought the house. I had powerwashed the deck every other year and had it stained a few times. The boards just rotted. We’re going to be in the house for a long time, and we wanted something that would look nice and require little maintenance.

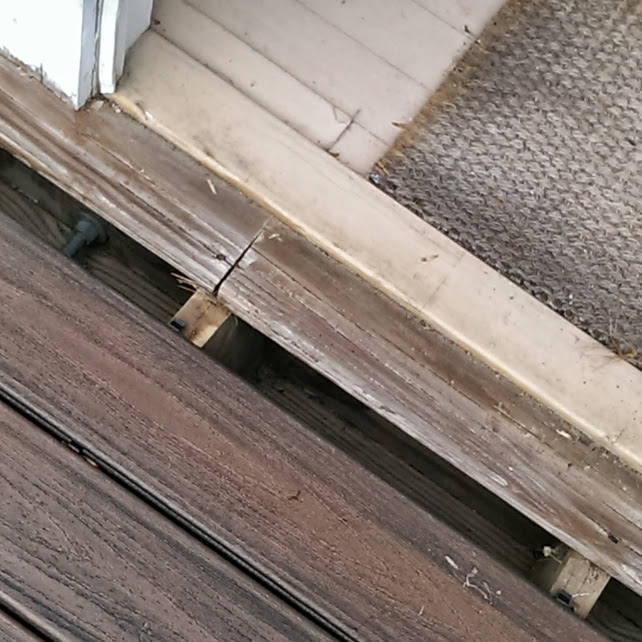
More bad deck boards
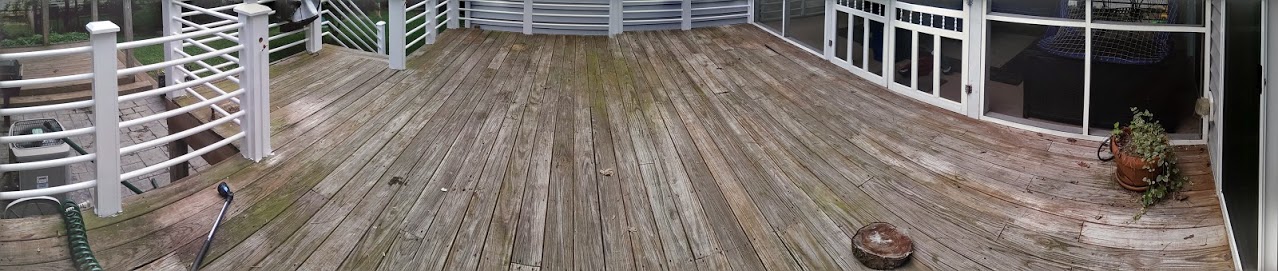
The deck boards were in bad shape
Things We Learned
The two most important things:
- The hidden fasteners have to be put in JUST right. Wedge them into the grooved board, then bend down the bit that is screwed down. We didn’t do this on the first board and couldn’t get the second board to fit nearly close enough. Watching the official TREX YouTube video helped immensely, and we should have watched that first.
- When pre-drilling holes for the boards that need screwed down – DO NOT pre-drill through the underlying framing wood. ONLY pre-drill through the TREX itself. The screw won’t seat in the board properly. Instead of sitting down flush with the board, it will stop at the top of the board and just spin. I had to call the the place that sold me the screws to find this out. So about a third of our screws look like crap.
If it doesn’t look or feel right – stop everything and pick up your computer or your phone. It’s not right, and it will be much easier to stop and find out why. We didn’t do this, and now I’m going to see every screw that’s not flush with the boards and get upset. Oh well.
The Process
How much time did it take?
Well I spent about 8 hours taking the deck apart.
And then the 3 of use spent 8 hours the first day, 10 hours the second day, 8 hours the third, and another 6 hours on the fourth day. That’s like 104 man-hours. We supposedly saved four or five thousand dollars in labor, but don’t do the math here or you might get a bit upset. The main thing is that we got what we wanted, and there won’t be any surprises later.
Now for some pictures…
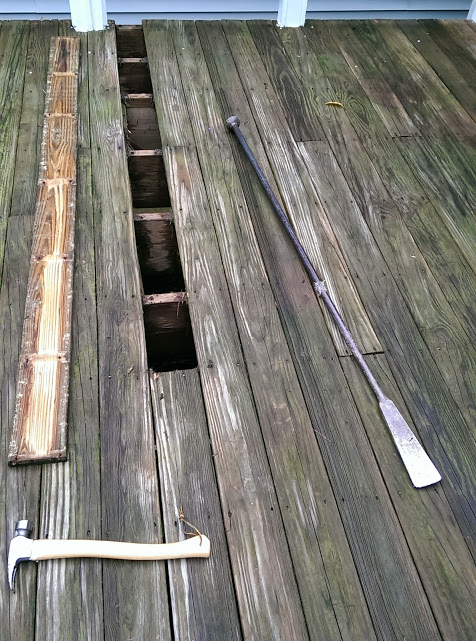
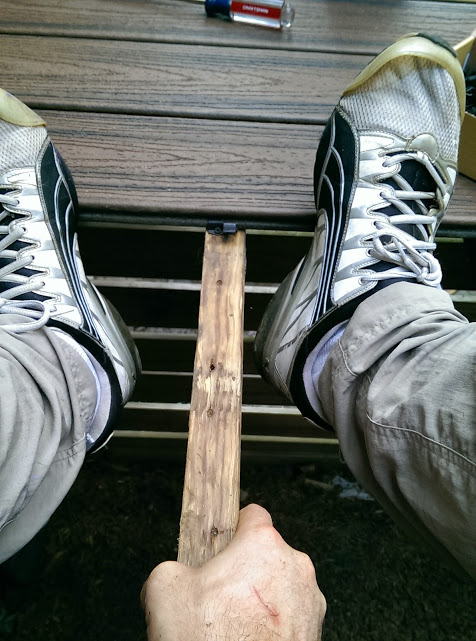
This 6”+ pry bar made the destruction of the old deck much easier
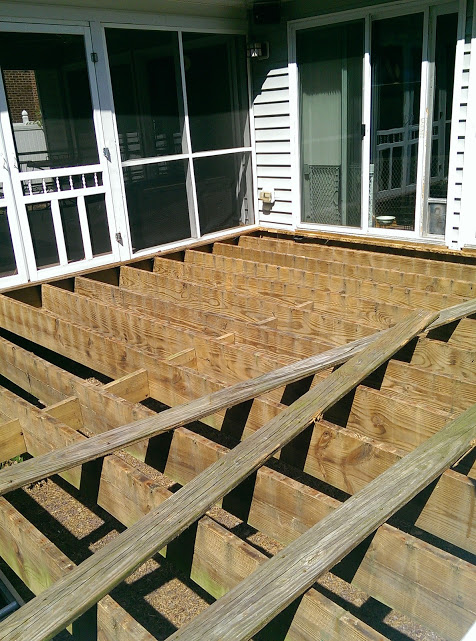
Most of the joists, once exposed, were OK.
This joist wasn’t sitting on ANYTHING before. We think a lazy gas person cut the board to sneak a gas line in. Awesome…
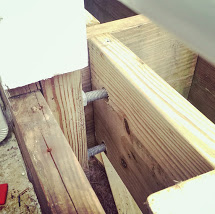
These monster lag bolts had to be accounted for when putting in the additional framing
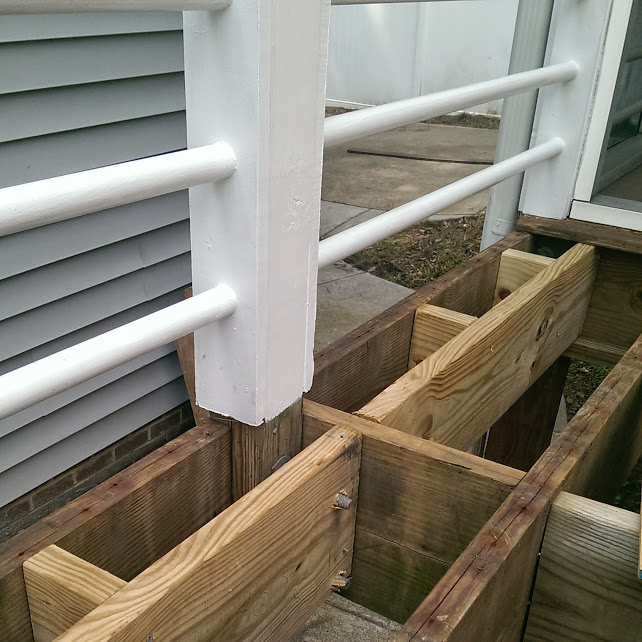
The border pattern Sheri wanted to put in required a lot more framing.
These were the first boards to go down – we screwed them in as there was no way to attach clips
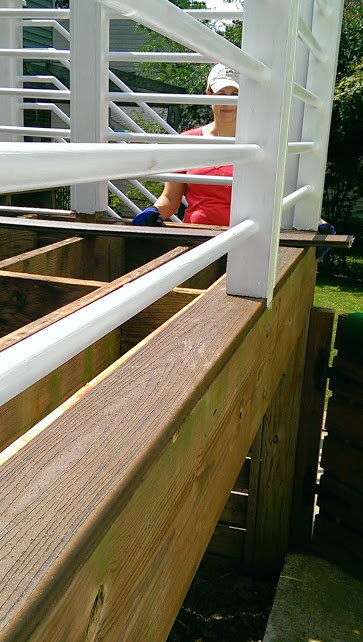
I sat, kicked in the boards, and then drilled these clips in – but my wife was able to go MUCH faster by using her hands to lock the boards in and drill on her knees. I liked locking the board in with my feet when they needed to be ‘encouraged’ to go straight.
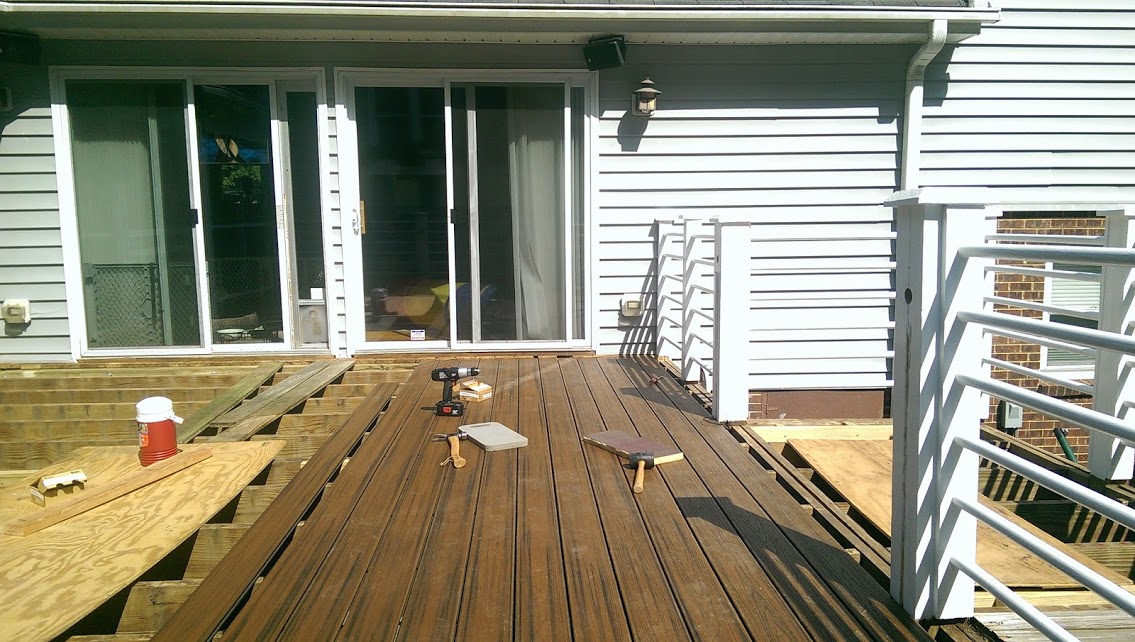
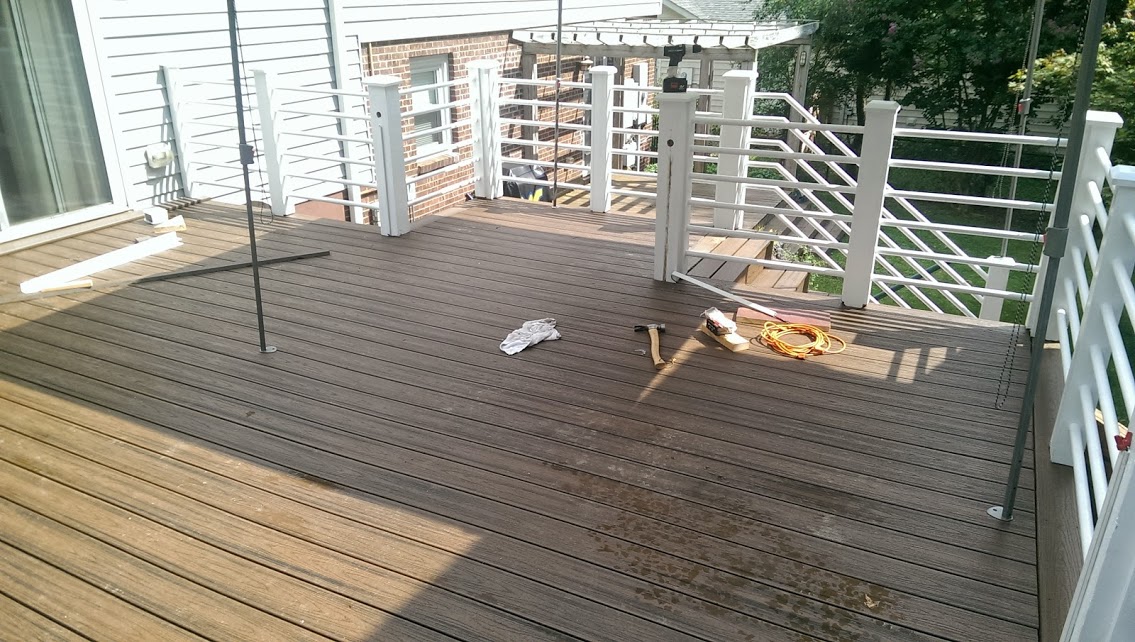
The first board took FOREVER to go in, but then when we got rolling, we were able to put in a 20′ board in less than 10 minutes.
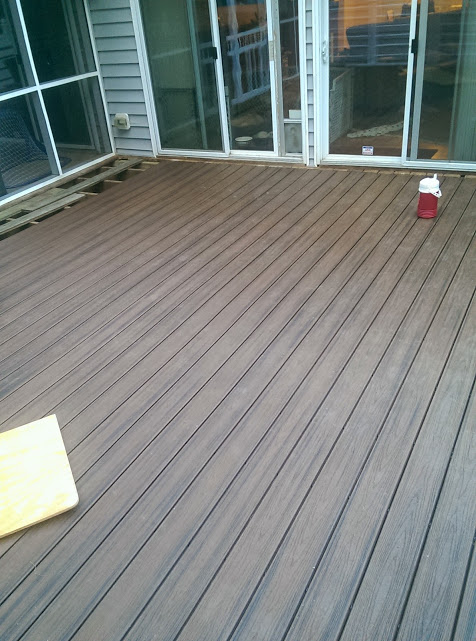
This was end of construction day #2 – we got much further than we thought we would.
Ah, the dreaded last 10% – what to do here?
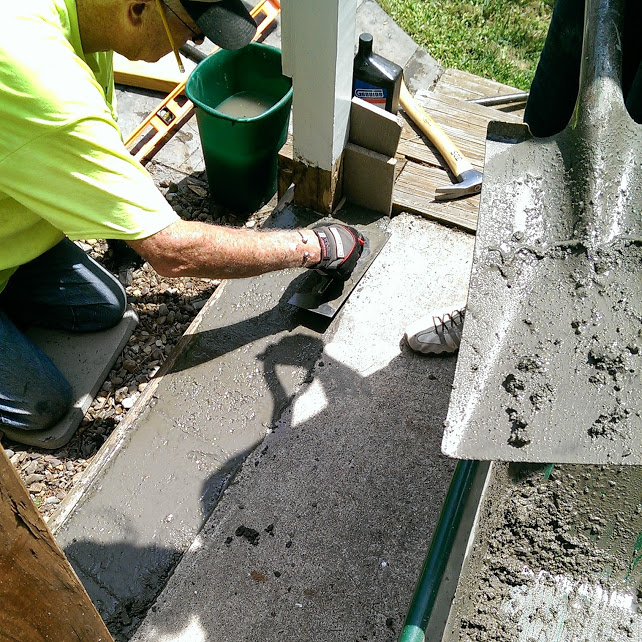
Remember those ‘floating’ stringers? Yeah, we fixed that up a bit, too.
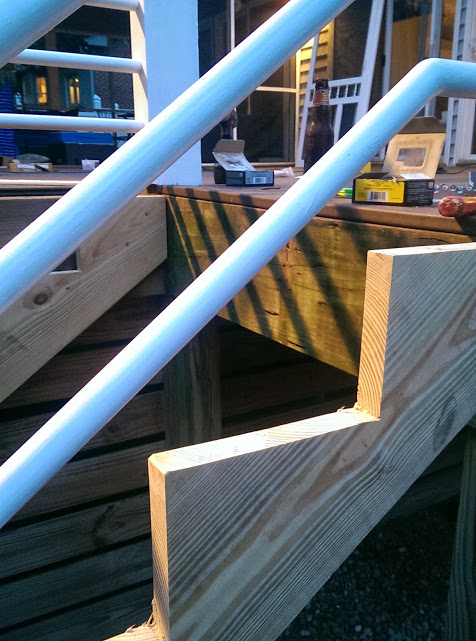
My wife used a website (and her brain) to calculate exactly how to cut the stringers to give us the rise/run we needed with the proper clearance and all that jazz.
The stairs with stringers and toe kicks – this was worth the effort
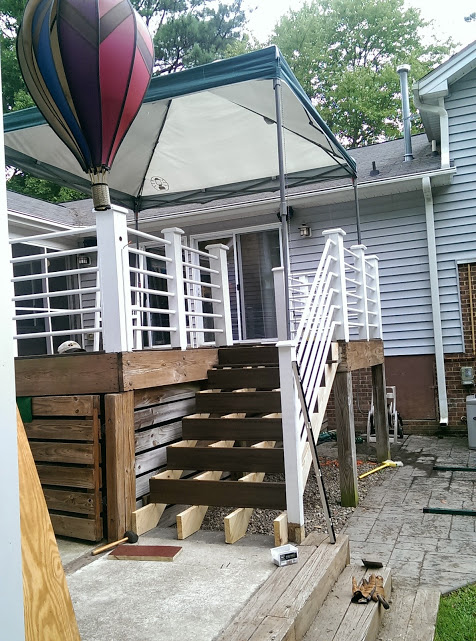
It started raining on us as I screwed down the steps – this we managed to get our shade tent up on the deck to protect us from the rain too ![]()
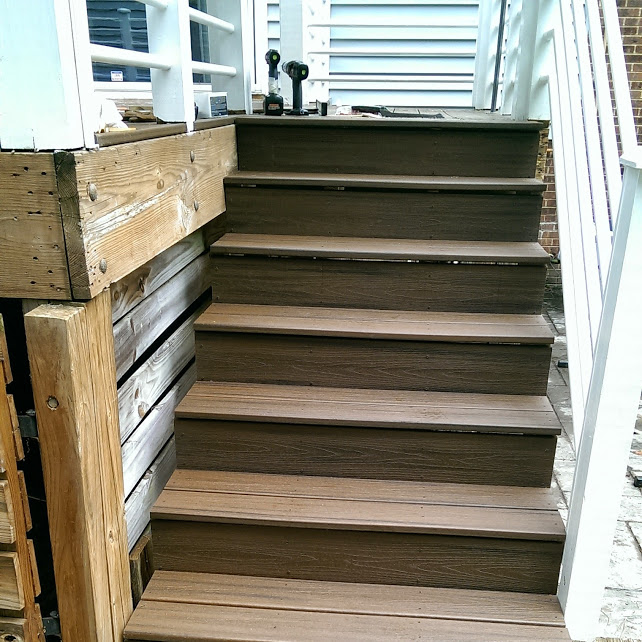
The stairs, finished
Finished, mostly

Good corner shot

The top of the stairs

Stairs, looking down

Celebratory beer
In Summary
There are a few things we’re not happy with. I think we can fix them up – but later. I have a few things left to finish, rewire the lighting, get the gas grille put back in, and rehang some screen doors.
I was expecting this to be a lot worse than it was. If I didn’t have the help, I would have never done it myself. But I’m glad that I did have that help and did do that project. It’s not often you get to spend that kind of qualify time with family and building cool stuff.
© Oracle Blogs or respective owner