Add Microsoft Core Fonts to Ubuntu
Posted
by Matthew Guay
on How to geek
See other posts from How to geek
or by Matthew Guay
Published on Mon, 26 Apr 2010 15:00:00 +0000
Indexed on
2010/04/26
15:13 UTC
Read the original article
Hit count: 983
Have you ever needed the standard Microsoft fonts such as Times New Roman on your Ubuntu computer? Here’s how you can easily add the core Microsoft fonts to Ubuntu.
Times New Roman, Arial, and other core Microsoft fonts are still some of the most commonly used fonts in documents and websites. Times New Roman especially is often required for college essays, legal docs, and other critical documents that you may need to write or edit.
Ubuntu includes the Liberation alternate fonts that include similar alternates to Times New Roman, Arial, and Courier New, but these may not be accepted by professors and others when a certain font is required. But, don’t worry; it only takes a couple clicks to add these fonts to Ubuntu for free.
Installing the Core Microsoft Fonts
Microsoft has released their core fonts, including Times New Roman and Arial, for free, and you can easily download these from the Software Center. Open your Applications menu, and select Ubuntu Software Center.

In the search box enter the following:
ttf-mscorefonts
Click Install on the “Installer for Microsoft TrueType core fonts” directly in the search results.

Enter your password when requested, and click Authenticate.

The fonts will then automatically download and install in a couple minutes depending on your internet connection speed.

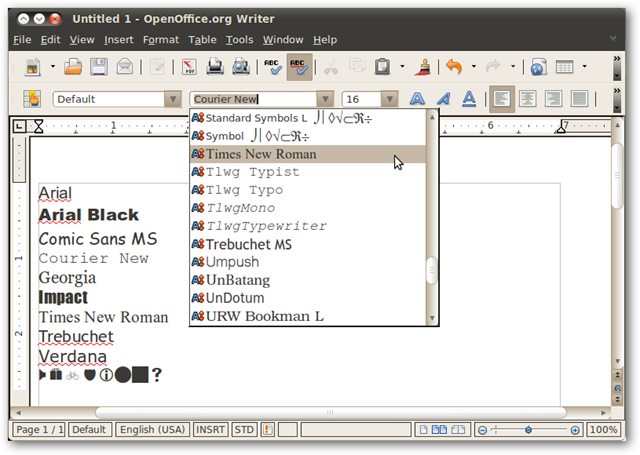
Once the install is finished, you can launch OpenOffice Writer to try out the new fonts. Here’s a preview of all the fonts included in this pack. And, yes, this does included the infamous Comic Sans and Webdings fonts as well as the all-important Times New Roman.
Please Note: By default in Ubuntu, OpenOffice uses Liberation Serif as the default font, but after installing this font pack, the default font will switch to Times New Roman.
Adding Other Fonts
In addition to the Microsoft Core Fonts, the Ubuntu Software Center has hundreds of free fonts available. Click the Fonts link on the front page to explore these, and install the same as above.

If you’ve downloaded another font individually, you can also install it easily in Ubuntu. Just double-click it, and then click Install in the preview window.

Conclusion
Although you may prefer the fonts that are included with Ubuntu, there are many reasons why having the Microsoft core fonts can be helpful. Thankfully it’s easy in Ubuntu to install them, so you’ll never have to worry about not having them when you need to edit an important document.

| Similar Articles | Productive Geek Tips |
| Latest Software Reviews | Tinyhacker Random Tips |
© How to geek or respective owner